My conversation with Liz Candido pushed me to rethink a familiar assumption: that the most welcoming campus is one where religion stays private and ‘secular’ is treated as neutral.
Liz gently but clearly challenges that idea.
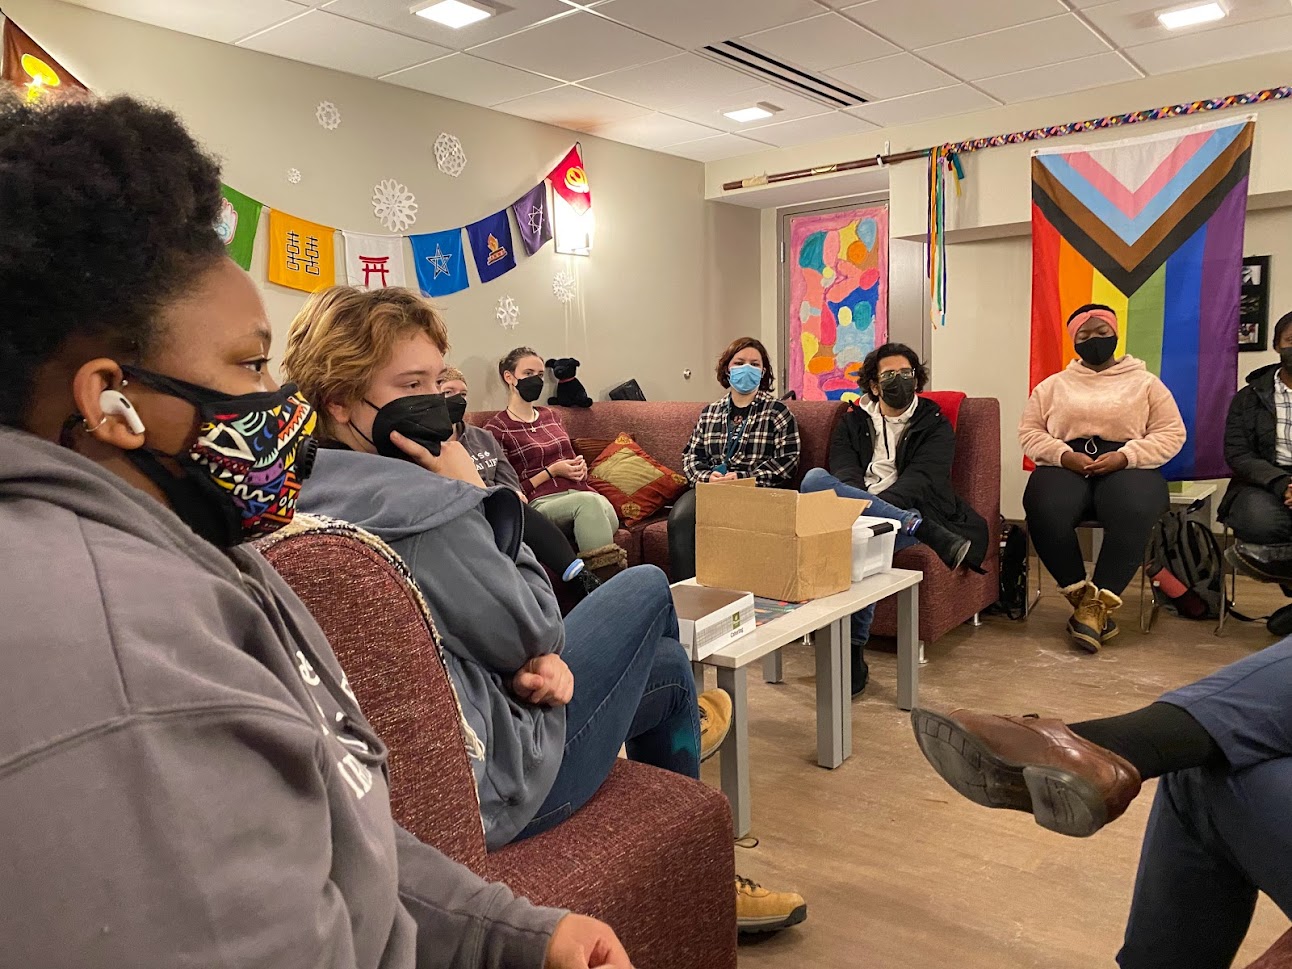
(psst…don’t forget the “Try This” section at the end.)
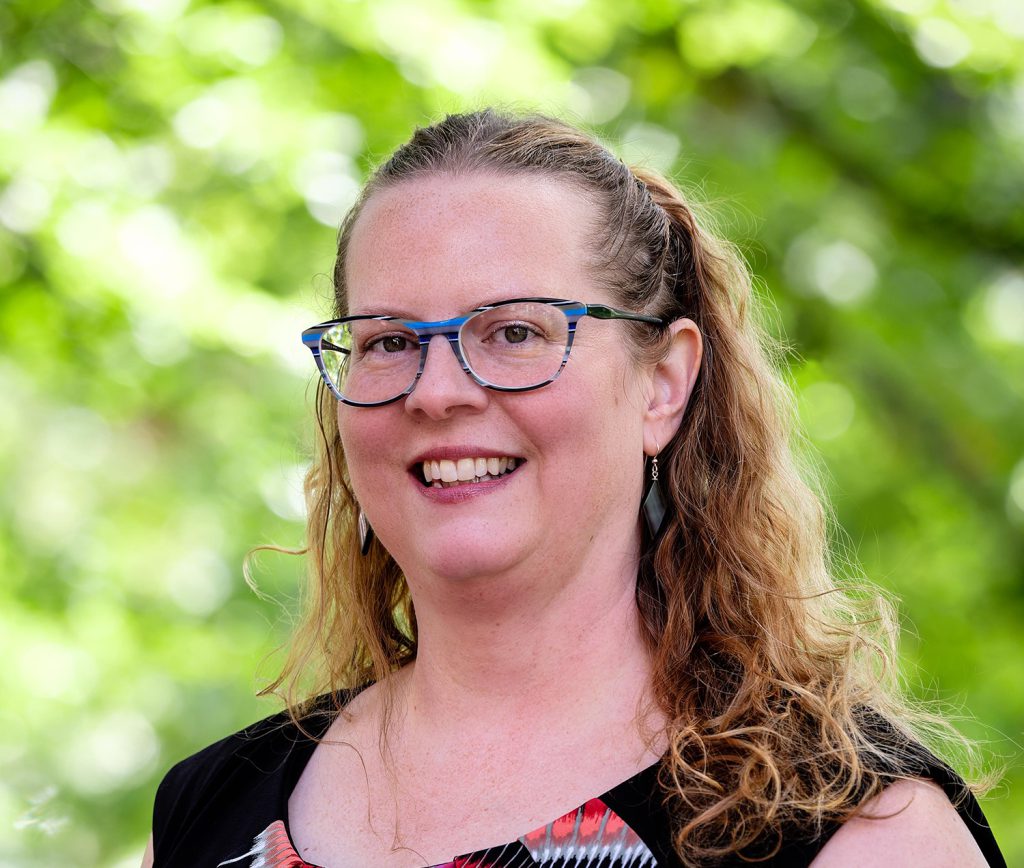
As College Chaplain and Director of the Office of Religious and Spiritual Life (OSRL), she serves as the primary spiritual care provider for our multifaith campus. Chaplaincy in a college setting isn’t about religious instruction; it’s about supporting identity development and walking alongside students in whatever religious worldview they bring — including those who identify as non-religious.
“For many students, religion isn’t separate from identity — it is identity.”
Religion, she reminds us, is a protected class of identity. For many students, it is central to how they understand themselves, their communities, and their values. Even for students who reject religion, that stance is part of a larger worldview.
🧭 Building interfaith skills
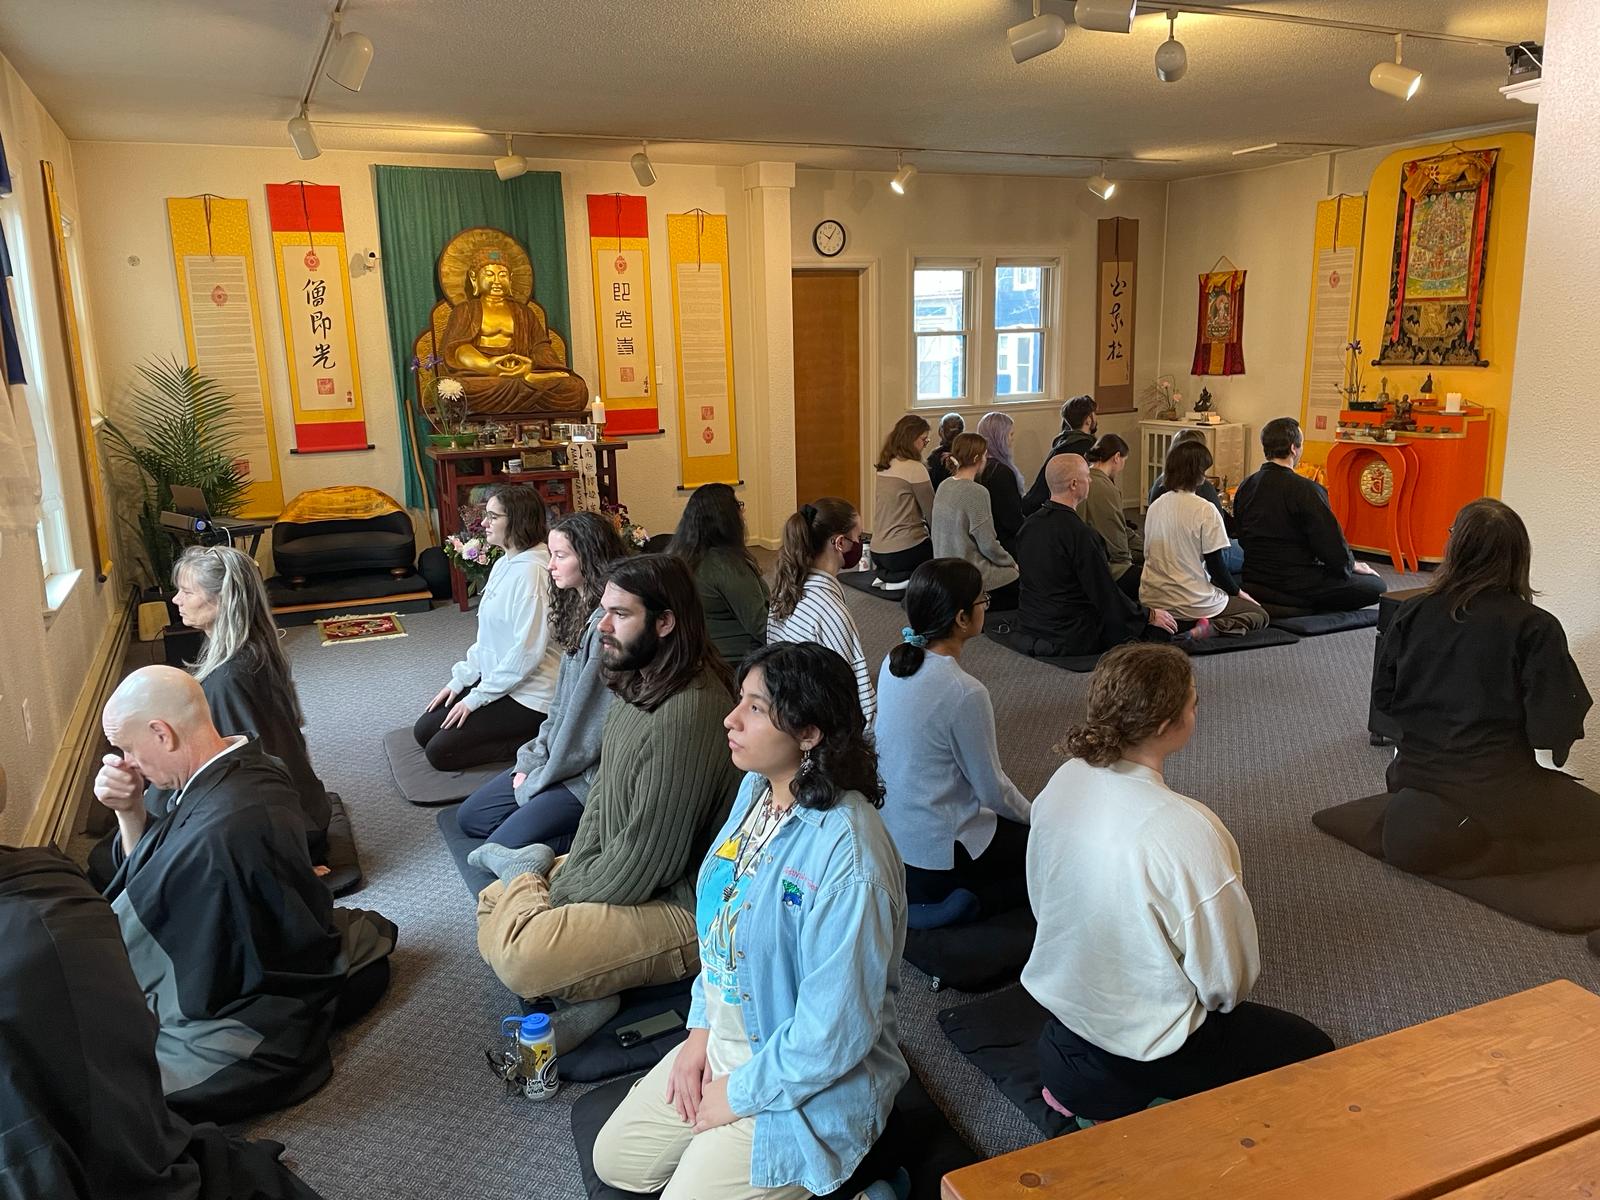
A significant part of Liz’s role involves coordinating interfaith student leaders. Interfaith work means people of different religious and worldview backgrounds learning with and from one another — including secular students.
One ground rule: no one represents an entire tradition. The goal isn’t to debate theology, but to articulate one’s own worldview, stay curious, and explore where things feel complicated — often the place where growth happens. Through programs like the First-Year Interfaith Dinner Club, students build transferable skills: naming the values shaping their perspectives, distinguishing personal experience from group identity, and navigating difference with curiosity rather than assumption.
🌿Radical hospitality as practice
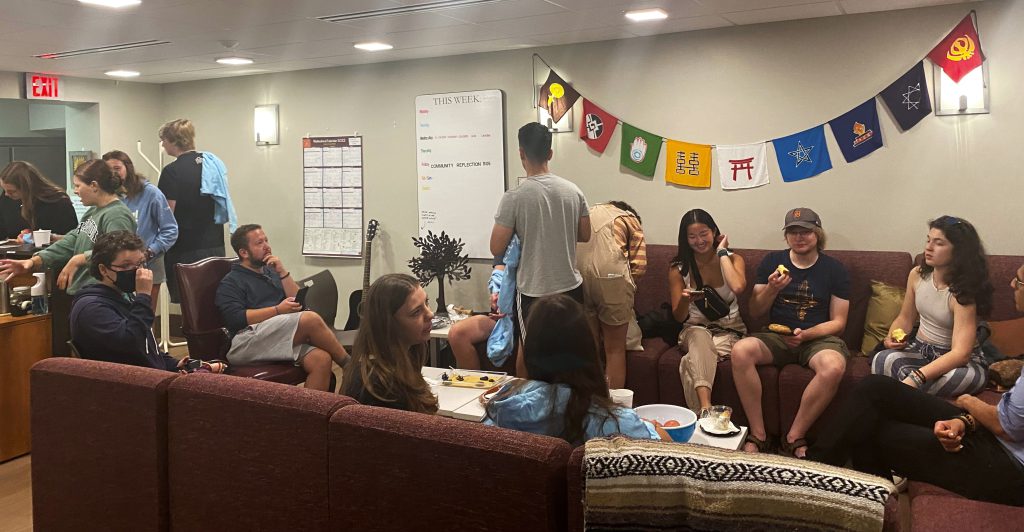
Liz describes “radical hospitality” not as a slogan, but as daily practice.
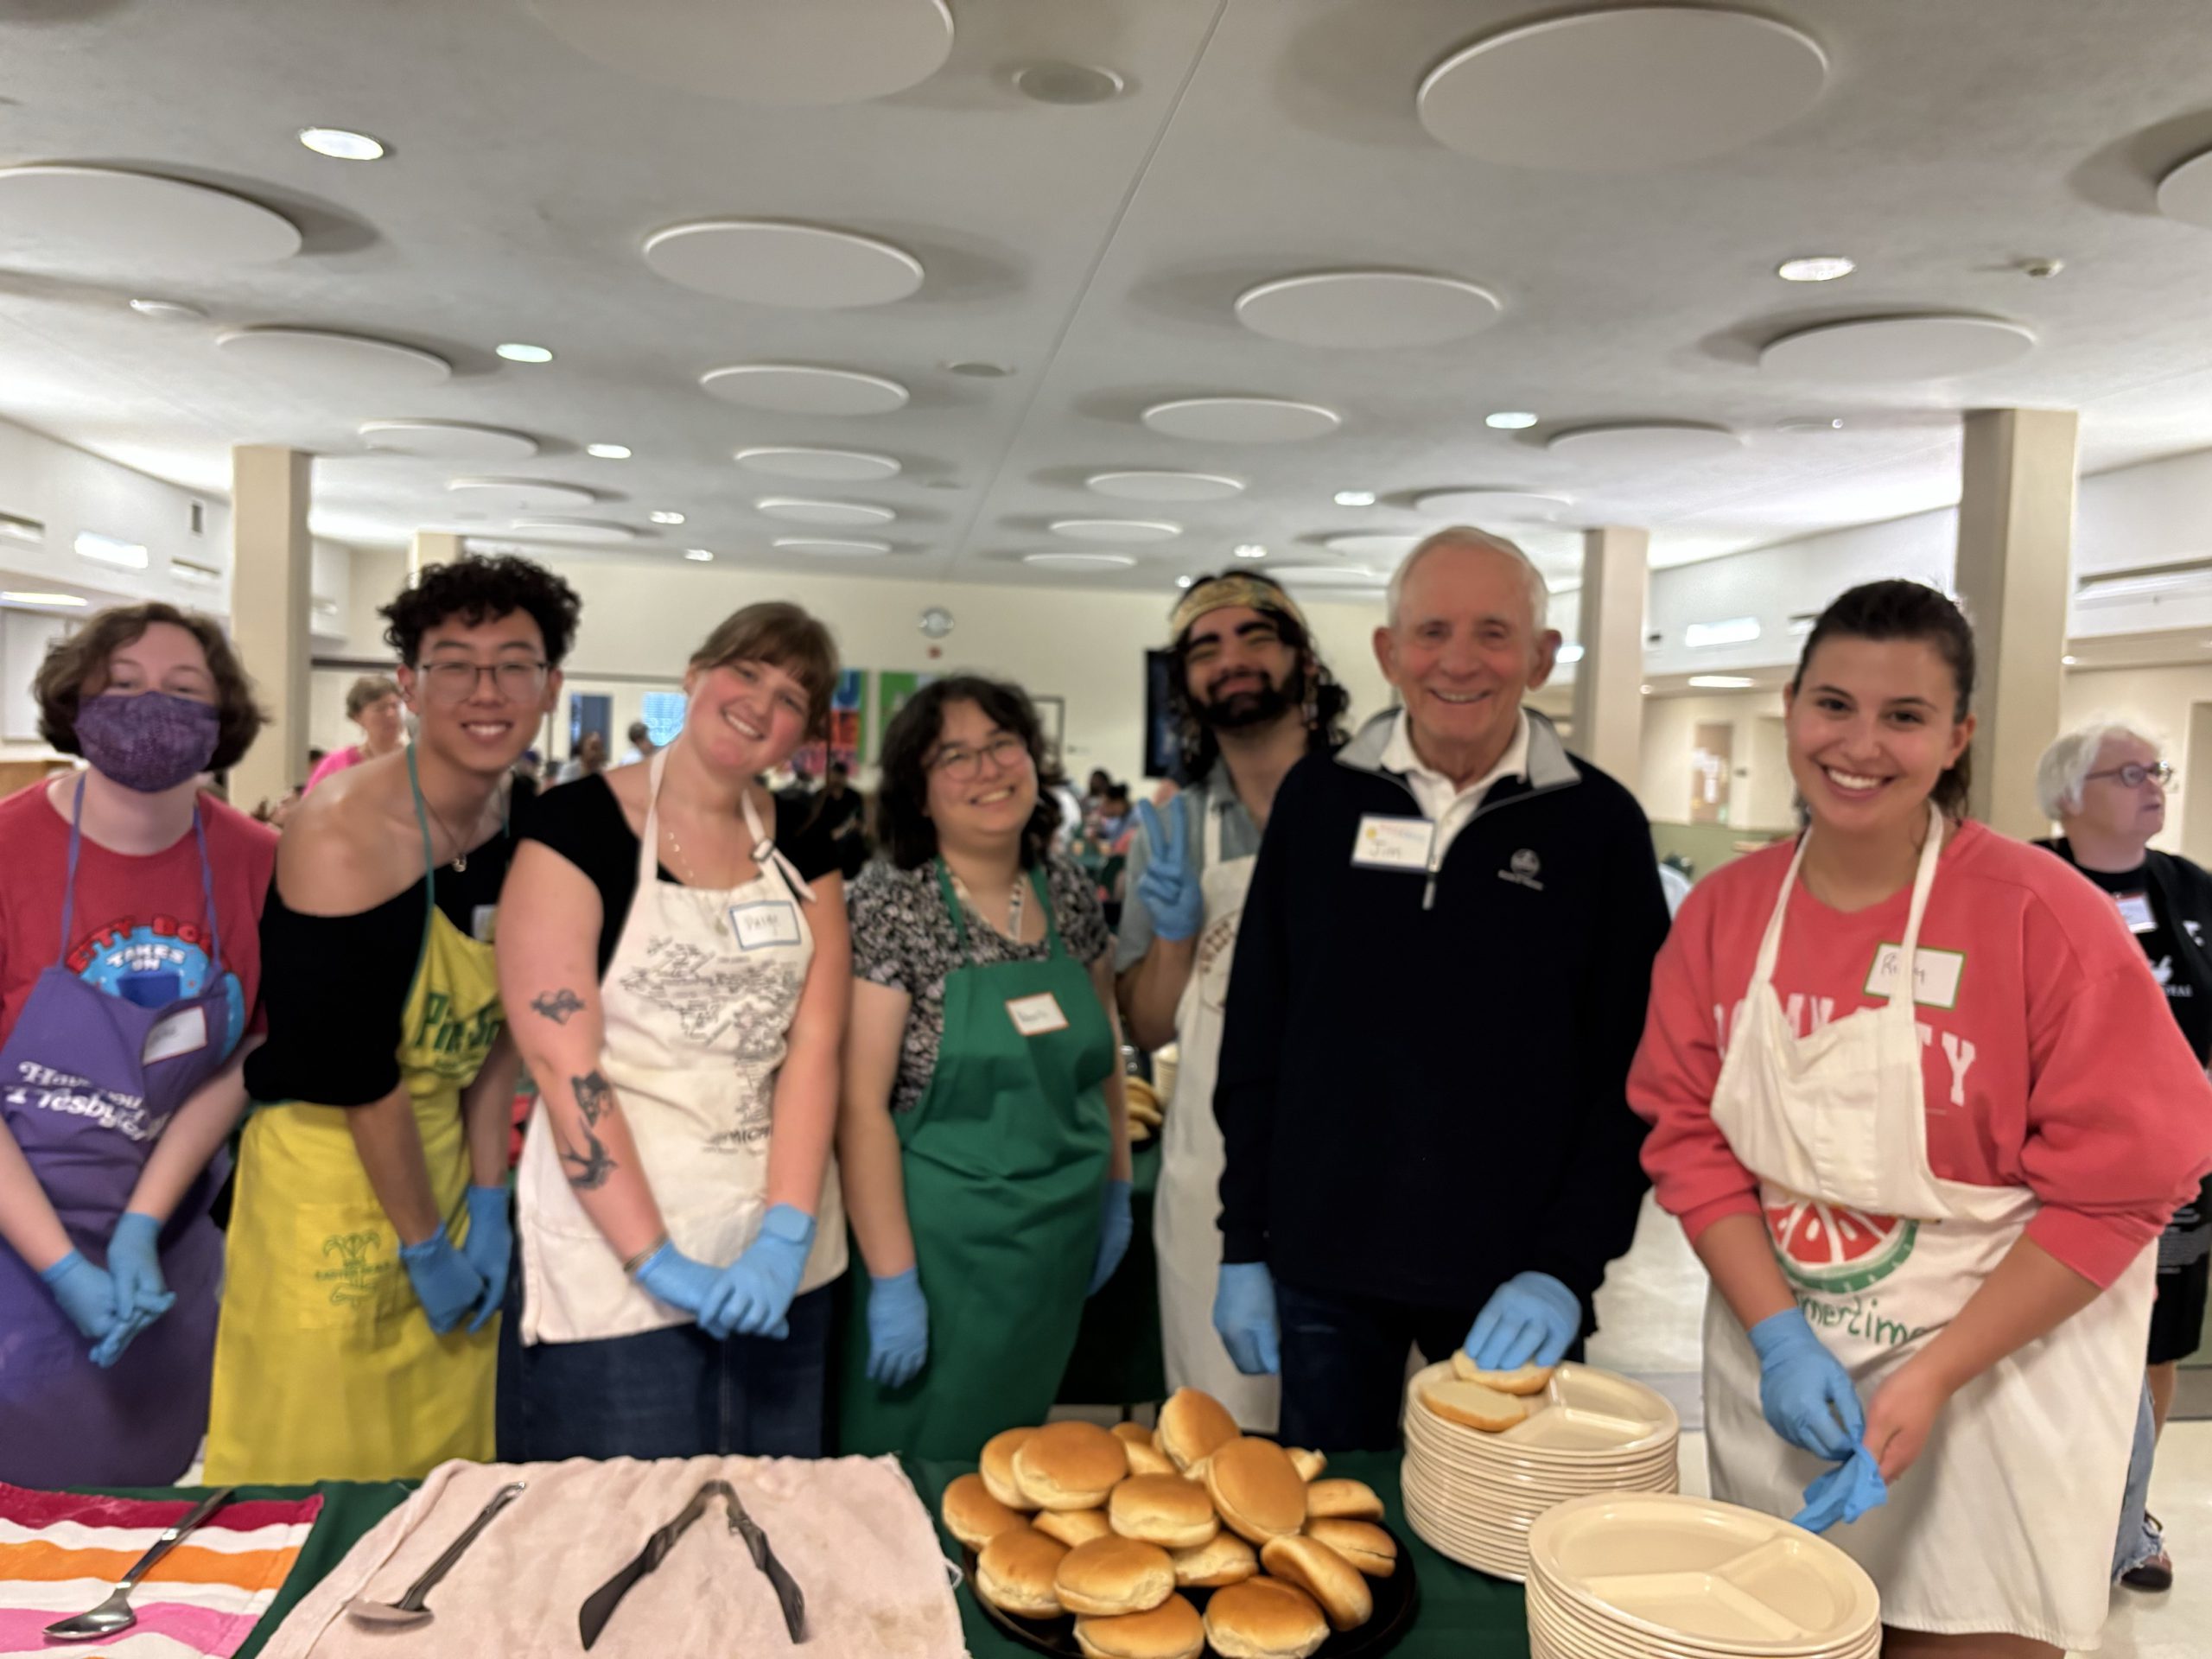
In orientation sessions, she tells first-year students I’m here for you, no matter your religious connection. She shows up in spaces like Crystal Queer gatherings to show that OSRL is there for them. She and her team notice who walks into a room alone. Faculty refer students seeking community. The Cavern — a space for prayer, reflection, and gathering — is explicitly offered as a resource.
“The way we know we belong in a community,” Liz said, “is to know people see us for who we are.”
That visibility matters. Students wear Stars of David, crosses, hijabs. They are already making parts of their identities visible. A simple acknowledgment — “I notice this; is it important to you?” — can communicate care rather than avoidance.
🛠️Try This
📄 Add a brief religious observance statement to your syllabus. Normalize advance notice and flexibility.
👀 Acknowledge visible markers with curiosity. A simple, respectful question can communicate belonging.
- Or as part of class, invite students to reflect on the values shaping their perspectives and where those values come from. A first-day questionnaire might ask: “Which identities or life experiences are most central to you?” Students may name religion, first-generation status, sexual orientation, race, or other dimensions of identity.
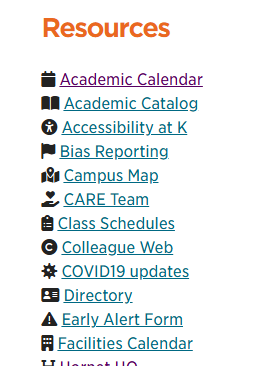
📣 Name resources early. Mention the Office of Religious and Spiritual Life and the Cavern (chapel basement) with advisees and students.
If secular has sometimes meant “we don’t talk about religion,” Liz’s work invites a different possibility: that we can build a campus where students bring their whole selves — religious, spiritual, questioning, or secular — and know they are seen.
Subscribe to our Posts
Did you miss the latest announcement? Subscribe to receive our posts directly to your inbox!