A Team Meeting about Joining and Running Team Meetings – Alyce Brady, Josh Moon, and Rick Barth

Everything You Wanted to Know About Teams but Were Afraid to Ask!

This video features a meeting in which we discuss how to start or join a meeting in Microsoft Teams, how to participate through features such as raising a hand, muting and unmuting video or audio, or chatting on the side, how to share your screen, and how to record a meeting.  We also talk a little bit managing meetings and how the Meet feature integrates with other Teams components.

Moodle Forums: Subscriptions and Notifications

When you use Moodle Forums in your course, there are a number of settings that control when and to whom email notifications are sent. While its important that everyone receives the notifications they need, we want to make sure nobody is being overwhelmed by too many email notifications. This video presents the methods in Moodle to manage subscription and notifications for Forums.

A 6.5 minute video by Josh Moon

This video is posted at Stream. Click here to learn more about Stream.

Activity Completion in Moodle

The Activity Completion feature in Moodle helpful for students to keep their work in your course organized, and can be motivating for them: there’s a feeling of accomplishment when checking those boxes!

A 10-minute video by Josh Moon

This video is posted at Stream. Click here to learn more about Stream.

Quizzes and Assignments in Moodle Make Feedback Easy

Frequent assessment and timely, detailed feedback are hallmarks for successful course design in any situation, and all-the-more so as we move to online course delivery. I’ve been using Moodle quizzes and assignments for ten years and find that it fits a high-volume workflow in a way the efficiently makes use of my time while allowing for prompt and personal feedback to students.

In this 13-minute video,

  • I construct a sample quiz from scratch in Moodle.
  • construct a sample assignment in Moodle
  • show a number of options available from within Moodle for me to quickly provide detailed feedback to students about their work.
A 13-minute video by Rick Barth

Getting Started with Moodle — Josh Moon

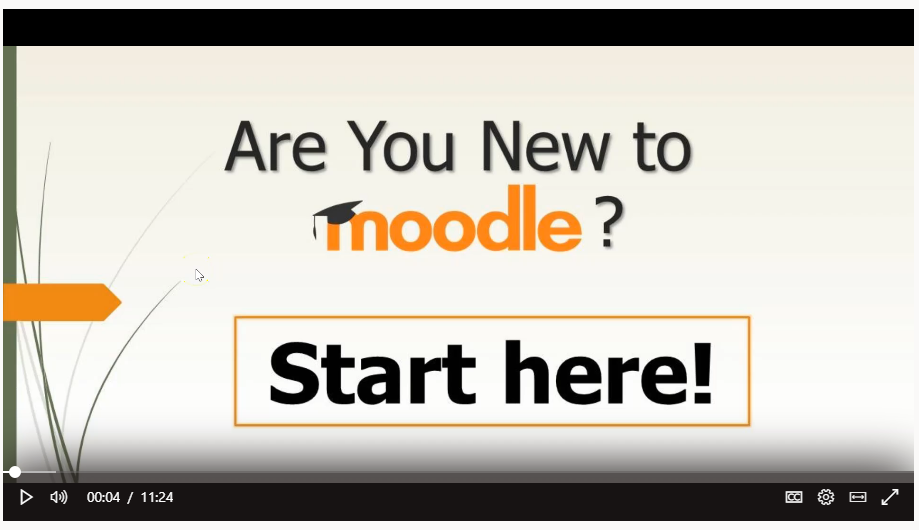
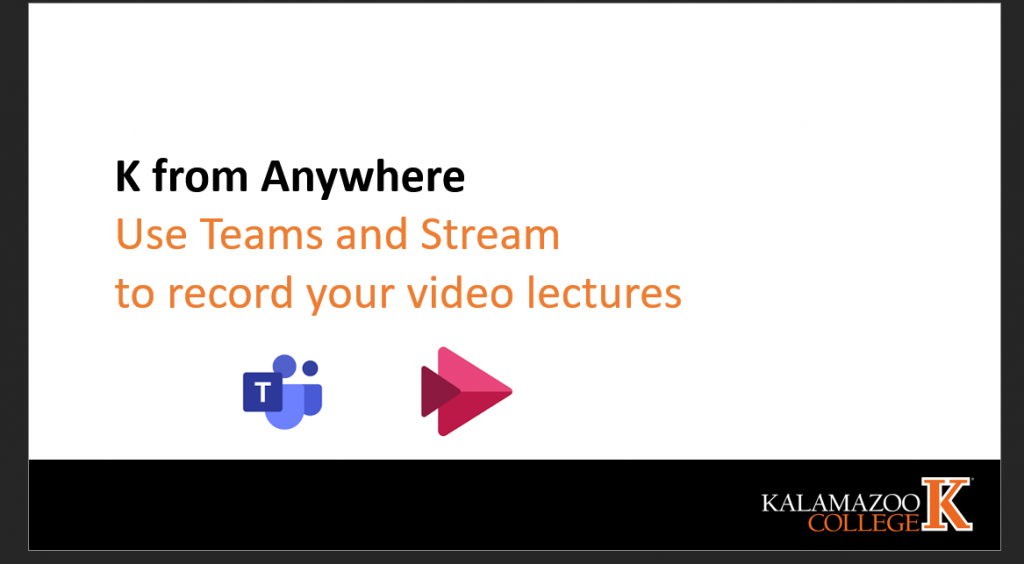
When someone is using Moodle for the first time, I like to invite them into my office so we can sit side-by-side and look at the interface together. Recognizing that we will have many new Moodle users and meeting in person with everyone is neither prudent nor feasible, I’ve set up a set of resources to help provide multiple entry points. First, if you’re more interested in a visual explanation, I’ve created a video walk-through the follows closely to the welcome conversation that I like to have.

An 11-minute video by Josh Moon. This video is posted at Stream. Click here to learn more about Stream.

Let me talk about some helpful points to get you started!

Don’t worry if you’re starting slowly. Your course Moodle site will not be visible to students when it is created; it will not be visible until you decide you are ready for it to be visible. When you are ready, go into your course settings (gear wheel icon in the upper right) and switch Course Visibility to “show.” Even if you open your class for Week One, you can hide any future weeks as you develop them.

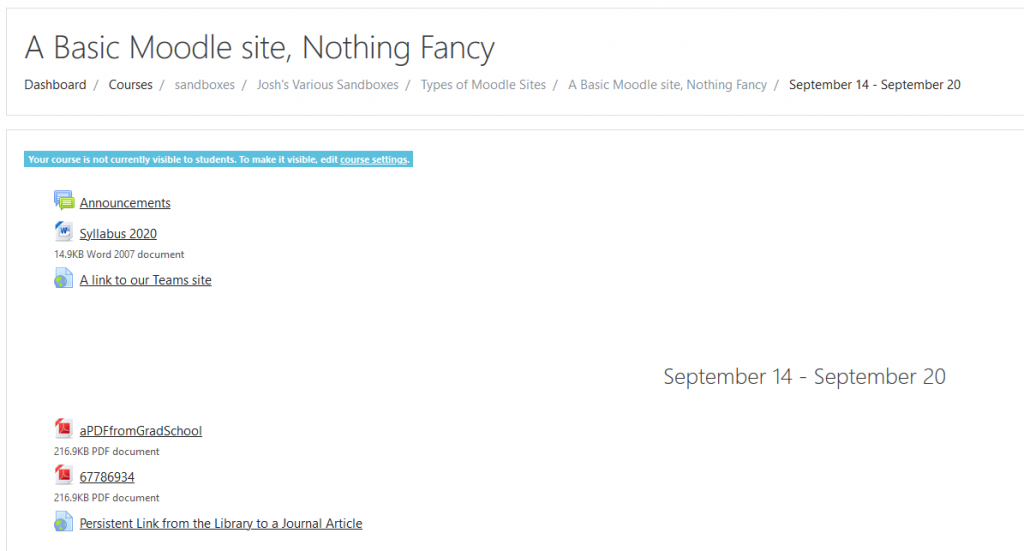
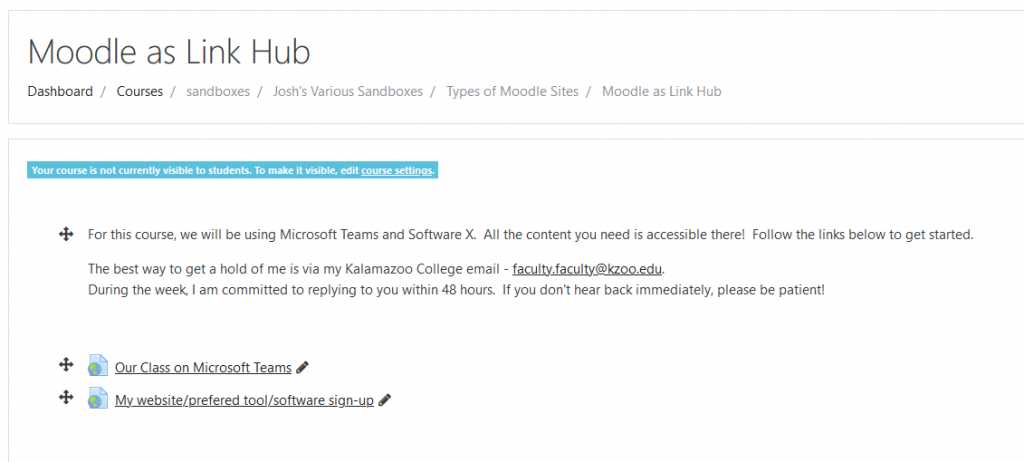
Moodle has many features, but faculty are free to use as few or as many as seem appropriate for their course and their teaching style. A useful minimal set of information to provide on your course site would be a copy of your syllabus, contact information for your students to contact you (e.g., email address or Teams chat, etc), and links to other resources used by your class (e.g., Teams site, external software, etc) if you’re not primarily going to use Moodle. In another post in the #KTeachDev2020 collection, we demonstrate different options for using the platform from high-engagement to a minimalist link hub.

Tips to get the basics:
• Add a syllabus. With your Editing On, drag-or-drop a PDF, Word doc, or your format of choice.
• Use the URL resource to post any vital links students will need to access features of the course.
• Add your contact information and any other important text. You can use a “Label” or edit your sections to add text, images, and formatting.

Moodle site sections can be organized by week (Weeks 1 – 10 + exam week) or by topic. The “by-week” organization is the most commonly used at K, so this is what will be set up by default. If you would rather have your page organized by topic, please let me know (josh.moon@kzoo.edu) and we can work on a format to better meet your needs.

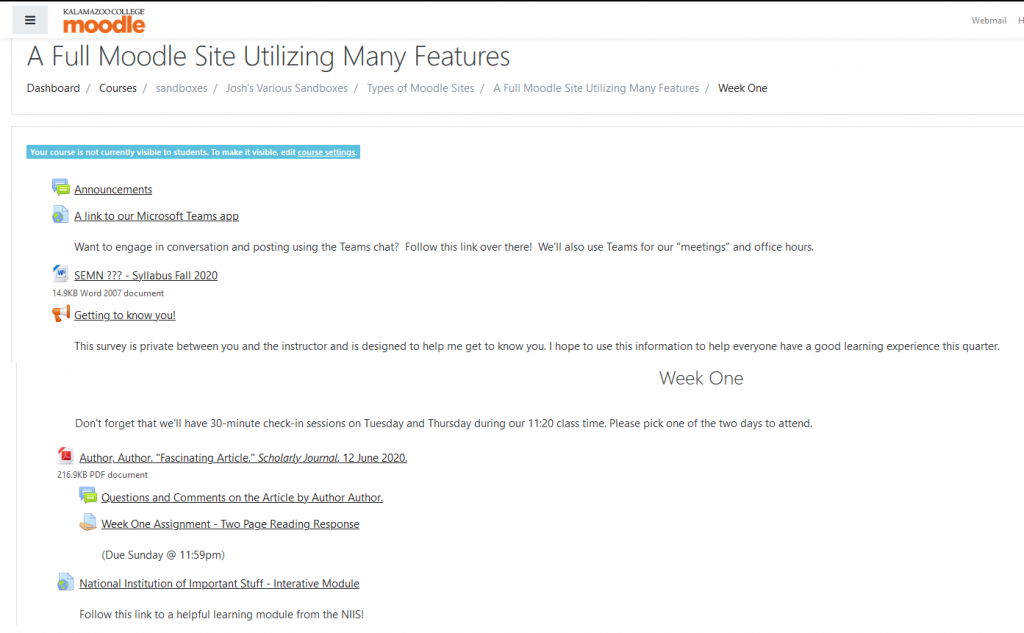
Popular beginning features in Moodle including Assignment dropboxs, sharing files, adding Discussion Forums, and providing links. To avoid cognitive overload, I won’t be using this post to describe full-tutorials. Instead, I’ll direct you to Moodle 101 resources as another place to look around.

In addition to this post, the linked resources, and other content, I’ll be offering a synchronous Moodle 101 session for anyone who is able to attend. If you’d like to fill-out this Doodle poll by Saturday, July 18, I will send out a final time to accommodate as many as possible. We’ll record the session for anyone who can’t attend.

Looked forward to making your Fall Quarter Moodle a success!

Four Models for Your Moodle Course — Josh Moon

Using Moodle does not mean that there is one solution for every instructor, group of students, discipline, or pedagogy. With this in mind, we’ve created four different models to demonstrate what various utilizations of Moodle by an instructor might look like:

  • The Basics: A very simple, minimalist Moodle example
  • A full-featured example using many features
  • The Course Reserve: An example of a Moodle site that serves mostly as a course reserve of readings
  • The Link Hub: An example of a Moodle site that merely provides links to other sites (e.g., Teams site)

There are other options imaginable, so adjust these to meet your needs.

The Basics

This is quickest, simplest approach using the default course format. The instructor here has dragged-and-dropped their readings and other files directly from their computer (note: this brings along the file names but you can clean that up). They’ve done the same with the syllabus and added a few links with the URL tool. There are no explanatory text or instructions, no Assignment dropboxes, but that’s okay. This is the basics to provide students with the syllabus and readings.

A Full Moodle Site Utilizing Many Features

My “How to Organize a Week of Online Learning in Moodle” post from spring is based on this model. While this uses a similar weekly structure to The Basics site, you’ll see important differences. In terms of formatting, the instructor has used the Description fields to offer explanatory text about activities. File names have also been cleaned up and renamed (full citations are a copyright recommendation). They have added more tools including a discussion Forum, Assignment dropbox, and a Feedback survey. Some resources utilize “Move Right” to imply their direct relationship to the reading PDF and provide structure. Again, there are many gradients between this option and the Basics. It’s all about the features you and students could benefit from.

The “Course Reserve.”

This Moodle site has done away with the weekly format and placed all content in a list at the General (top) section. The idea here is to replicate a course reserve and supply students with the reading documents that they need for the quarter. If you already have a plan to facilitate discussion, support collaboration, receive assignments, and just need a convenient space to supply students with documents, this is the template for you.

The Link Hub

If you’re doing all of your digital communication with students on another platform or with other software, you can keep Moodle to a jumping off point with links. Even if you’re not spending much (or any!) time on Moodle, the goal here is to help students stay organized and have at least one, consistent hub to keep their online course content accessible that every instructor is using in some capacity.

How to use Microsoft Teams and Microsoft Stream for Video Projects


We’ve heard many requests to help students submit video content to their instructors with College resources. Microsoft Stream provides a place for students to upload large video files and control who has access to them. Think of it as a private, Kalamazoo College YouTube where you pick who gets to see your videos. Click here to learn more about Stream.


First, let’s talk about making the videos. If students are creating a video elsewhere, like in an editing lab or on their personal device, they can upload a pre-made video to Stream. To do this, one member has to log in to Microsoft Stream and upload the video. We’ll talk about sharing that video with others in a moment.

Let’s assume they want to use Teams and a group Call to make the recording. This involves a few simple steps inside Teams. One group member can start a new Chat with two or more participants. Invite the participants and hit Enter.

  1. Once everyone is ready, click the Call button in the upper right.
  2. Have one participant initialize the recording by clicking More Actions… in the Menu
  3. Once the recording is complete, go back to More Actions and quit the recording.
    The video will automatically begin uploading to Microsoft Stream as part of our Microsoft integration. Stream will take time (minutes, not hours) to fully process the video depending on the size. The participant who clicked the recording option will have access first, while other members will wait for processing.
    In order to extend access to an instructor or another recipient, the participant who started the recording will need to “Update video details” and access the Permissions in Stream. Choose individuals to grant access to and empower other participants as owners if necessary. If the student uploaded their own video, this is where they can share it with group members and instructors as well. For more information, please watch Giving Permission to View a Private Video on Stream on the Tech Talk channel.

Now that these individuals have access, that same participant can use the Email feature to share the video directly to the email of the instructor or other recipients. Note: sending an email or creating an embed will not expand who can access the video. That must be done in the Permissions.
It is easy (intentionally or otherwise) to have Microsoft Stream allow everyone in the College to access a video. With these steps, students should be able to use Teams and Stream to complete a video project, share it with select individuals, and limit the access to others. With video being so popular in online learning and collaboration, we hope this answers some question on how to execute such a project.

Use Teams to record a video lecture

An important note: The steps below work in the Teams App on my machine running in Windows 10. We’ve come to realize that different operating systems have different features and behavior. If you have a Mac, Chromebook, or use the browser-based Teams site, please let everyone know how/if this works for you in the comments below. Thanks!

There are lots of solutions for recording video lectures that include your webcam image. Here’s one that doesn’t require any extra software. We’ll use the Microsoft programs Teams and Stream, both of which are available free to every member of the K community, to record a video lecture about recording video lectures!

A 4.5 minute video about recording a video lecture in Teams

The key things you’ll need to do:

  1. Select “Meet now” to start a call in your Team, but don’t invite any other participants. Please note that the “Meet Now” button has moved to the upper right corner of the Teams window.
  2. “Share screen” if you want to include PowerPoint or other content in the recording
  3. Record the call using the three dots menu …
  4. When you select stop recording, your recorded lecture will appear immediately at your MS Stream site. Even if you’ve never used Stream, you have an account already set up through the K College Microsoft suite of programs. Click here to learn more about Stream.
  5. Trim the beginning and end of the recording in Stream for a more polished final product.
  6. Copy the link from Stream to include in your Moodle site for students to access the recording.