Thing 1: The Quick Grading option
The name says it all! When I click on a Moodle assignment, I’m presented with two buttons below. For Quick Grading, I’ll choose View all submissions

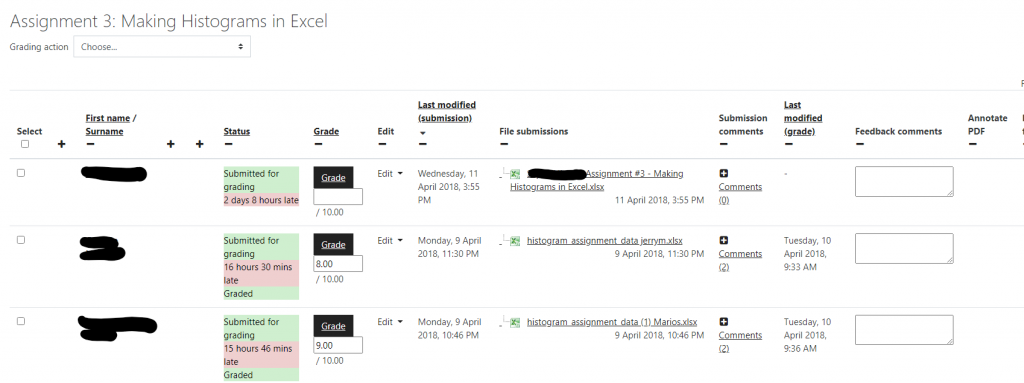
The result is a screen (screenshot below) that shows all the enrolled students, a link to each submission that opens in a separate window, the status of their submission for this exercise, a place to enter a score, and several places to enter my feedback. For brief assignments this is my go-to option. Especially helpful is that students in this screen can be sorted in a number of user-defined ways: by date of submission, grading status, etc so that I don’t need to scroll through all the students to find the few that I haven’t yet graded.
To be safe, remember to select Save all quick grading changes at the bottom of the screen when you’ve finished.

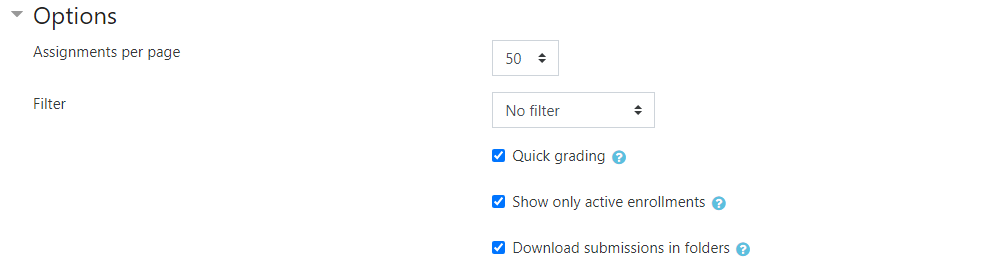
If you don’t see the columns with fillable Grade boxes, scroll down to the bottom and turn that on with the Quick Grading checkbox:
The “+” and “-” symbols at the top of each column can be selected to either show more or fewer of the columns. That helps so that all the columns I want to see can fit the width of my computer screen.
If you don’t see “Feedback comments” column, edit the settings for the assignment. More about this next in Thing 2.
Thing 2: Set up activities to include the whole range of feedback types
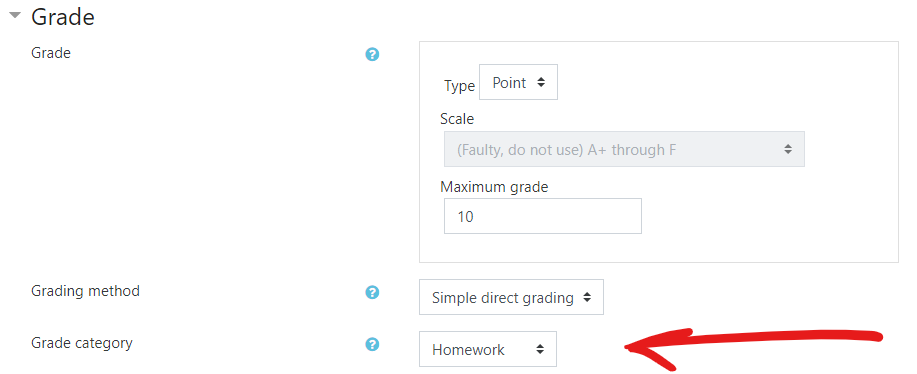
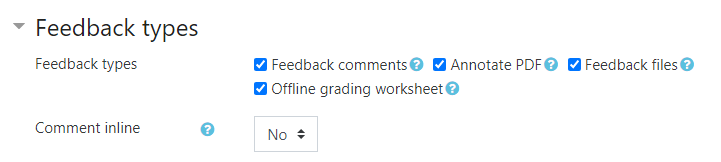
I include all the possible feedback types in every activity. For a given activty, select edit and settings, then expand the Feedback types menu to check all the available options. We’ll see all those options in action in Thing 4 below.
Thing 3: Use Moodle’s Duplicate function to carry your settings over to a new activity
Instead of counting on my memory to select the feedback types for each new assignment, I set up one initial activity carefully, and then use the Moodle Duplicate feature to use that previous activity as a template for all subsequent activities of that type. The properties I’ve carefully selected come along with the duplicate automatically.
I used Moodle’s Duplicate feature: from my main page, select Gear icon, then turn on editing by selectin Editing is OFF. Now in the Edit drop-down menu on the right side of the window for a chosen activity I can select Duplicate
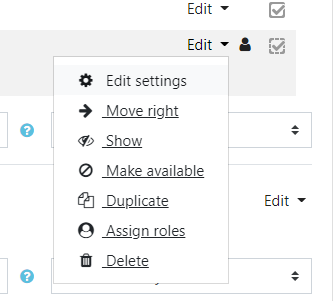
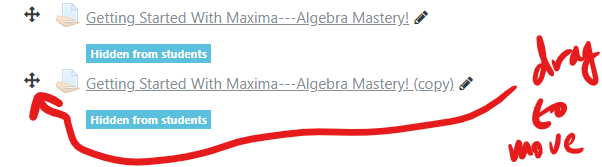
The result will be a new activity with all the settings as in the original. Drag the cross icon to move the new item where you want it in your Moodle page, and Edit settings to transform this into your new activity.
Thing 4: The Grade Button
If I really want to grade papers, I should push Grade, right?
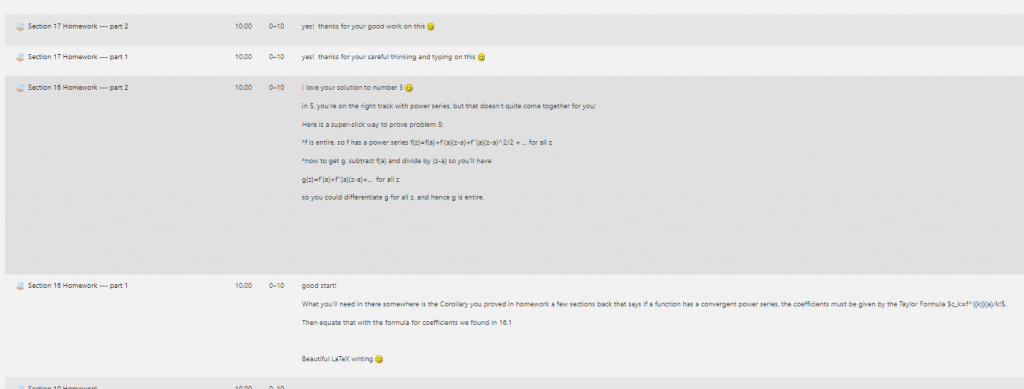
The result is a screen that shows everything possible for a single student’s submission: Notice that the feedback options we set in Thing 2 cause this screen to have
- Annotate-able file
- A text editor for typing instructor feedback
- A place to upload a feedback document file
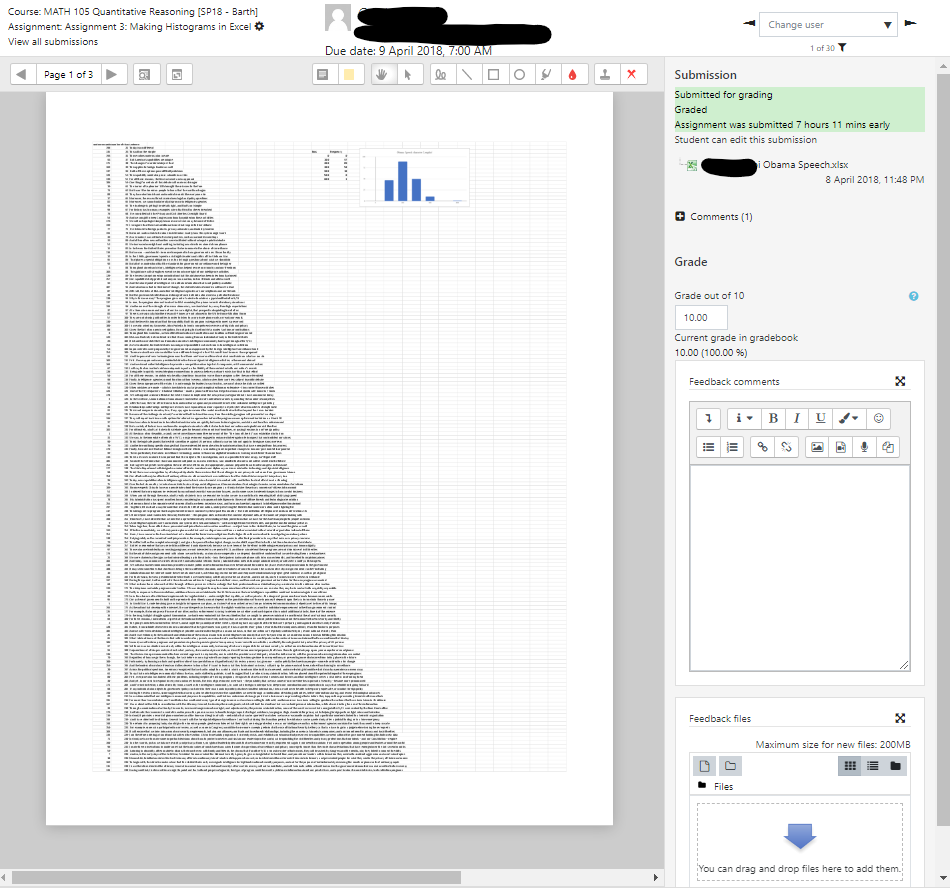
When I’ve finished working with this student’s submission, I can select Save and show next to move on to another student. To me, it is sometimes inconvenient that Moodle always brings me these papers in the same order: alphabetical by surname. It is possible to circumvent that a little by using the Change user dropdown menu in the upper right corner of the window. A helpful feature in that menu is that ungraded submissions are indicated with an asterisk *. This is especially useful when I’m going back through an assignment to see late submissions and revised resubmissions.
Thing 5: Downloads and Uploads
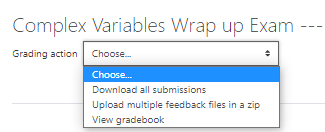
A few days ago I had a whole class roster full of long PDF final exam documents to grade. For each, I planned to reply with a PDF document of feedback. To streamline that workflow, I downloaded all the submissions choosing View All Submissions selecting Download all submissions from the Grading Options dropdown menu:

The result was that a compressed (zip) folder appeared in my Download directory. Clicking on that revealed a whole folder full of folders, each one with the name of a student who had submitted work. For a given student, the directory contained all the submitted files. Being careful not to change the names of any of those files or of directories in which they were contained, I happily annotated the submitted files. I included in each student’s directory my own document file of feedback. The name of this feedback file isn’t important. The thing that matters is that my feedback file for each student got put in that student’s directory. When I was finished, I selected Upload multiple feedback files in a zip, and uploaded the modified zip directory. All the feedback files got to the right place, as did the annotations on the students’ submissions.
I then used the Quick Grade feature to enter the students exam scores in Moodle and I was done. Or…
Downloading and Uploading Grade worksheet
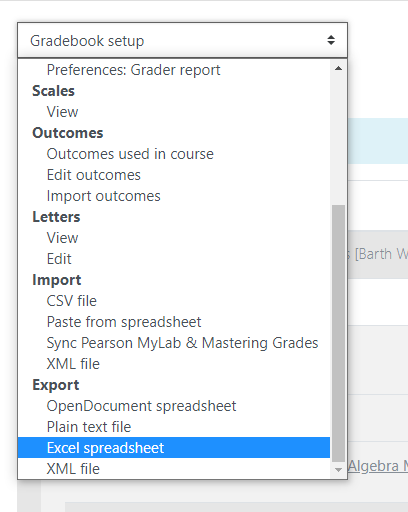
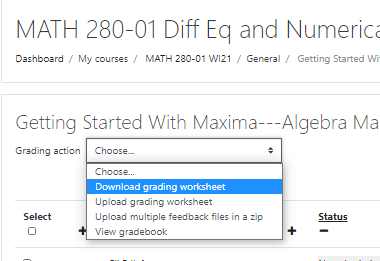
It is possible to enter grades for an assignment on your own device, then upload them all at once to Moodle. In the View All Submissions page, select Download grade worksheet from the Grading Options dropdown menu:
The result will be a downloaded document that you can open on your device with MS Excel. Enter scores in the Grade column
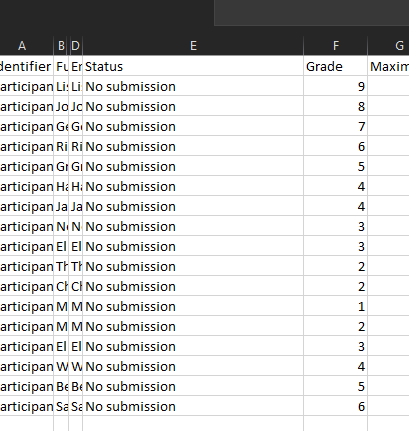
Save the modified document (without changing the filename or filetype) and then select Upload grading worksheet at the Moodle Grading Action dropdown menu. The grades you entered will now appear in all the usual places in Moodle.